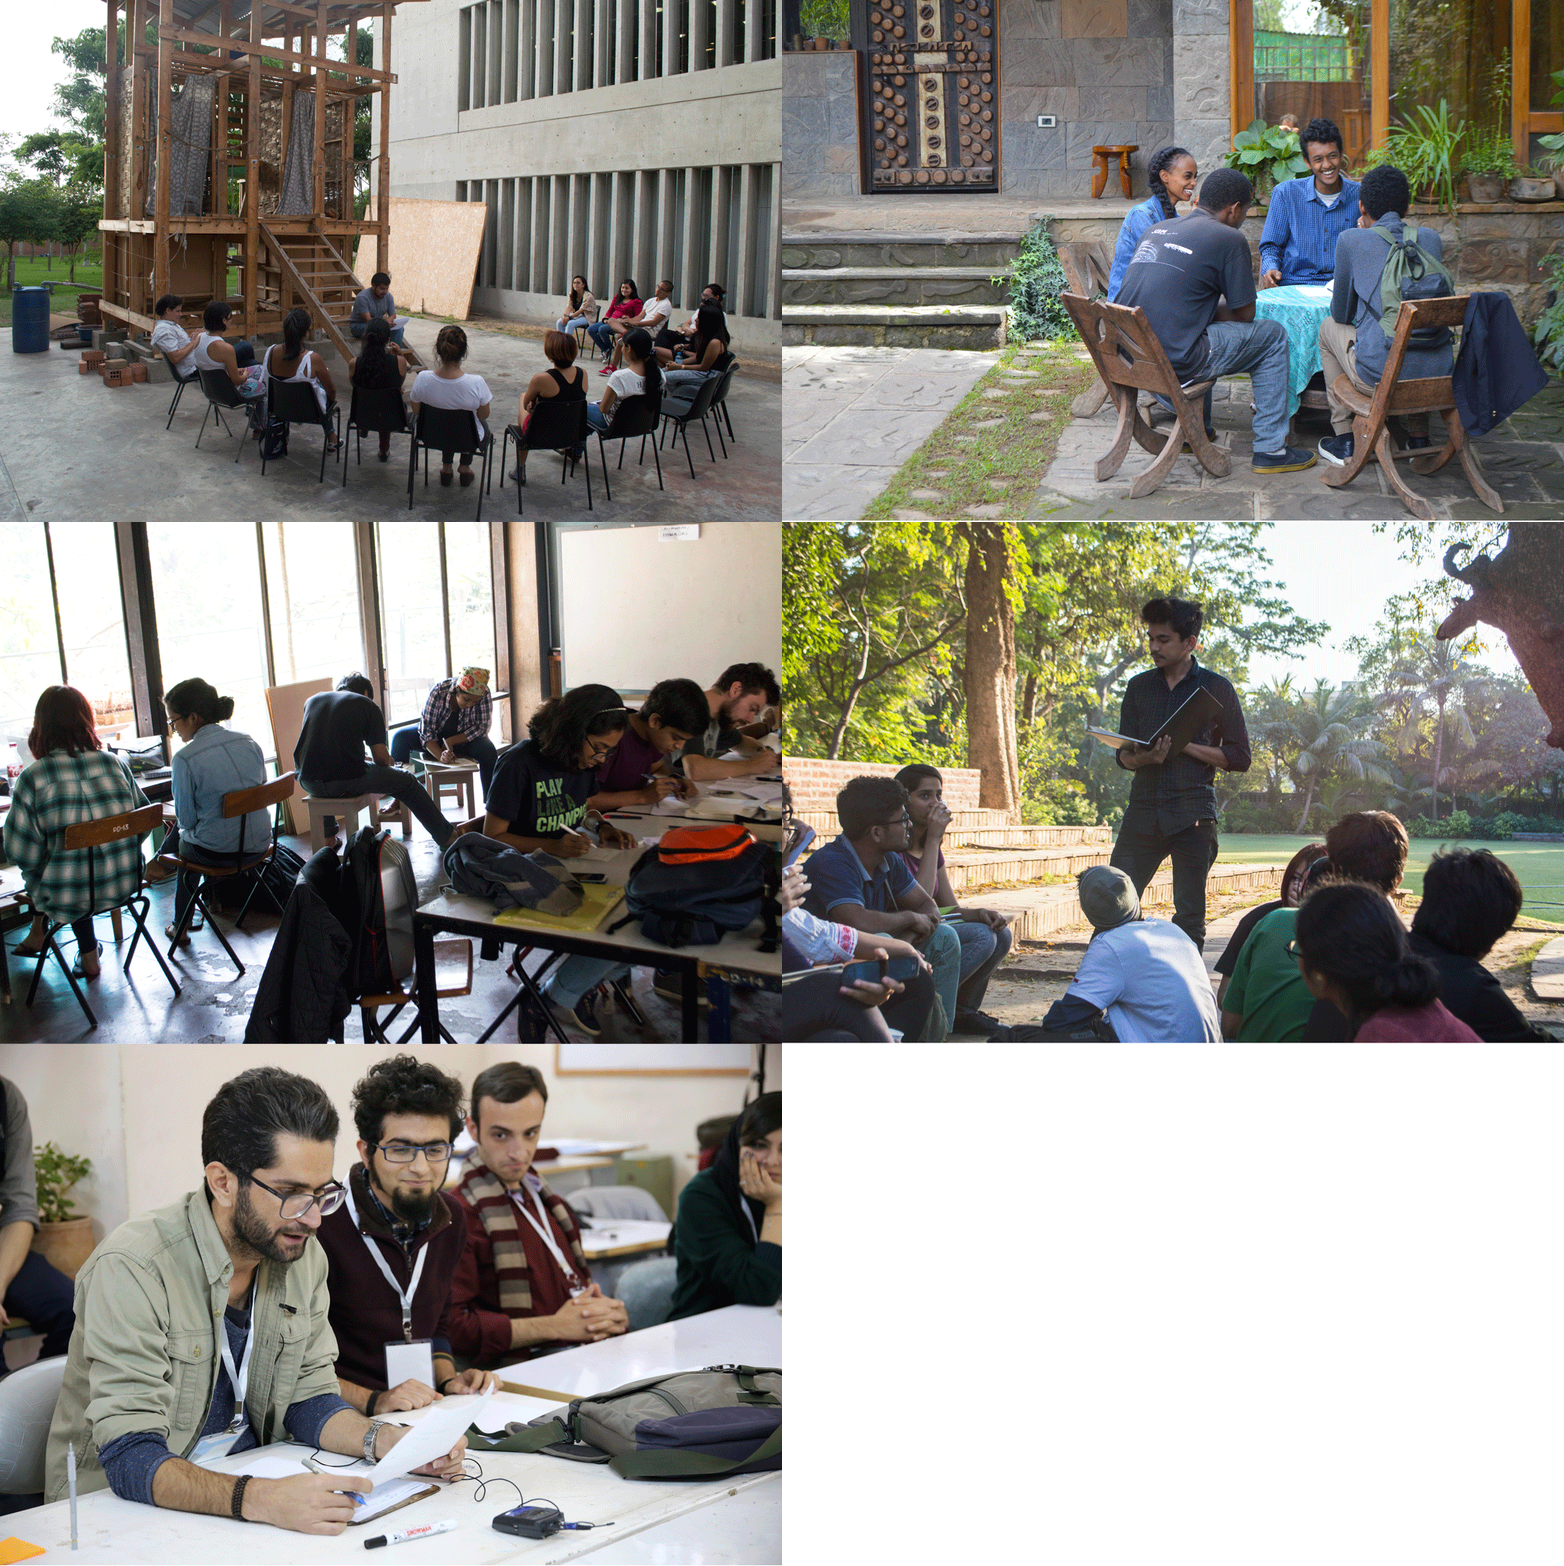
WORKSHOPS Overview
Each visit invited interdisciplinary groups of students to engage for four days in a series of
activities aimed to help them envision their futures. No critical or speculative design
methodology was taught during the sessions. The general frame of the activities was
intentionally kept very loose, without any rigid instruction or guidelines, giving students the
chance to express themselves genuinely.
STEP 1 - Visiting artisans
Before starting any future thinking, students were invited to visit local artisans and traditional craft shops, which served to reconnect them with contextual aesthetics and add visual references to their vocabulary before entering into the speculative realm. We also hoped those artisans might become valued partners in developing their physical artifacts.
STEP 4 - Design PrompTs
At this point students created the objects that populated their written scenarios and visualizations. The rule at this stage was that each design prompt should be able to communicate the context and scenario in which it was embedded. Each group produced four to eight product ideas. All participants stated their preferences and the “souvenirs from the futures” were then selected as the expression of the whole group.
STEP 2 - Writing
Next, small groups of students wrote short fictional narratives describing their future scenarios. The only parameters suggested were around length (one page maximum), that the stories must talk about people, and that they take place in their specific countries in an undefined future. These requirements were again a way to avoid stereotyped or anonymous futures.
STEP 5 - prototyping
During the final 24 hours, each group worked to realize the sketch prototypes of their objects. Any material or technique was permitted as long as the look of the final pieces was clearly indicated.
STEP 3 - Visual Thinking
Now the students started transforming words to images, reflecting on aesthetics and on the tone or atmosphere of their fictional worlds. Very little guidance was provided; students were free to elaborate their visualizations with any technique they wished, from watercolor to collage, comics to video.
STEP 6 - development
After the workshops students were invited to finish their projects autonomously or with their professors’ guidance. Some collaborated with local artisans to improve the quality and add another layer of their culture to the artifact.


